

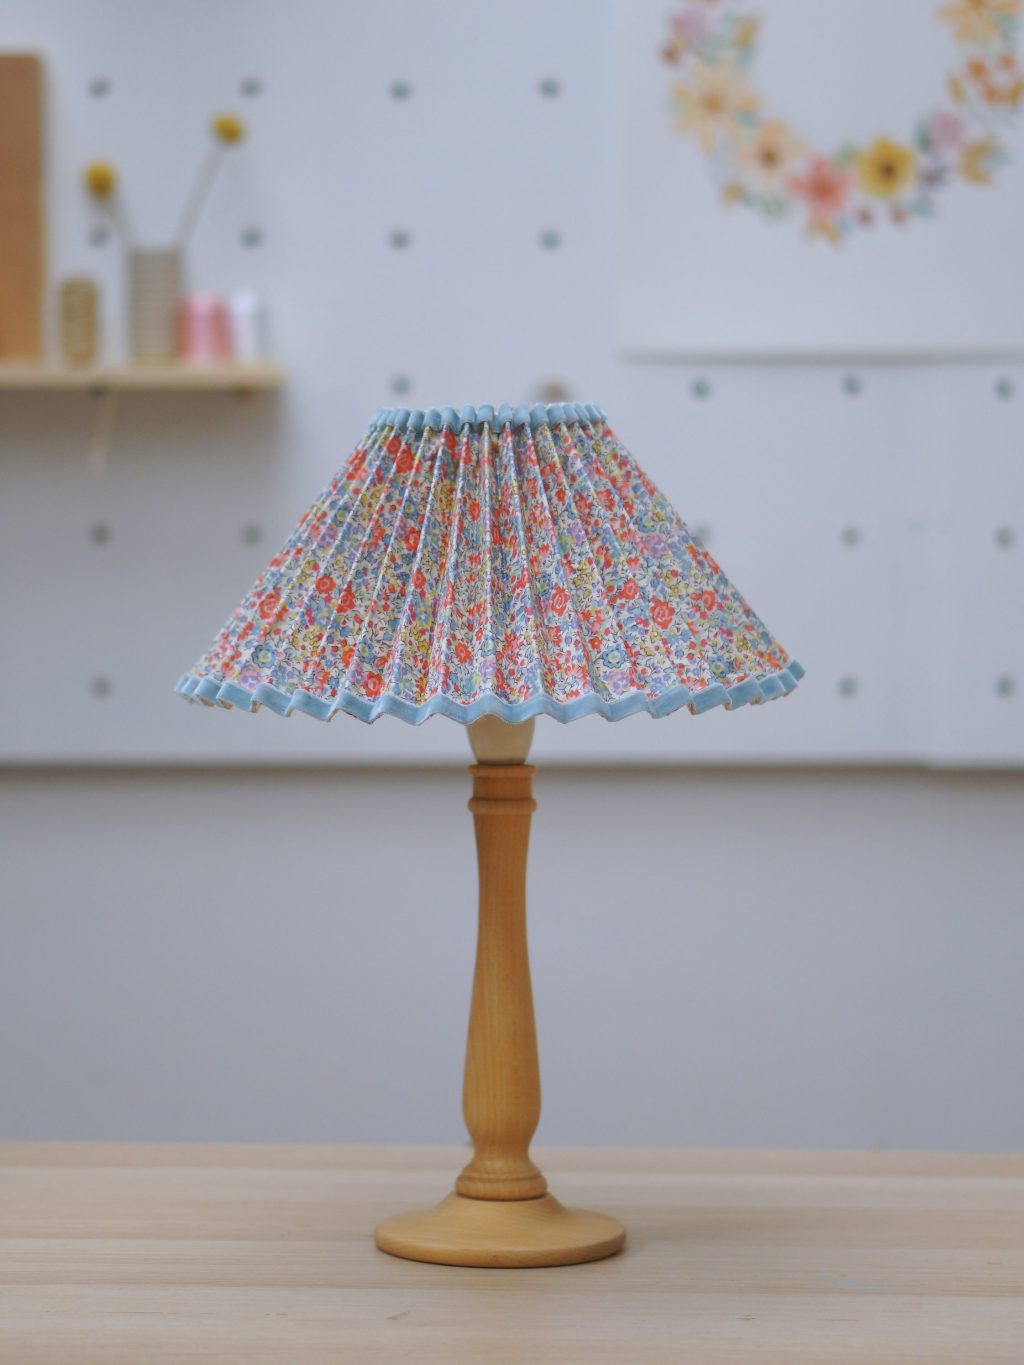
With the warmer days rolling in and flowers bursting into bloom, I couldn’t think of a better time to dive into one of my all-time favorite crafts—making French beaded flower earrings. Picture this: yourself with a pair of stunning, handmade flower earrings that screams springtime joy. Sounds fabulous, right?
I remember the first time I tried my hand at French beading. I was completely mesmerized by how tiny seed beads and a bit of wire could transform into such intricate and beautiful designs. It’s like having a piece of nature’s beauty that you can wear and show off! Now, I want to share my experience with you, and guide you through the process step-by-step. And trust me, it’s easier than it looks, and a lot of fun too! Plus, I’ll throw in some extra tips and creative ideas on how to use these lovely beaded flowers in other projects.

Ready to make some floral magic? Let’s get started!
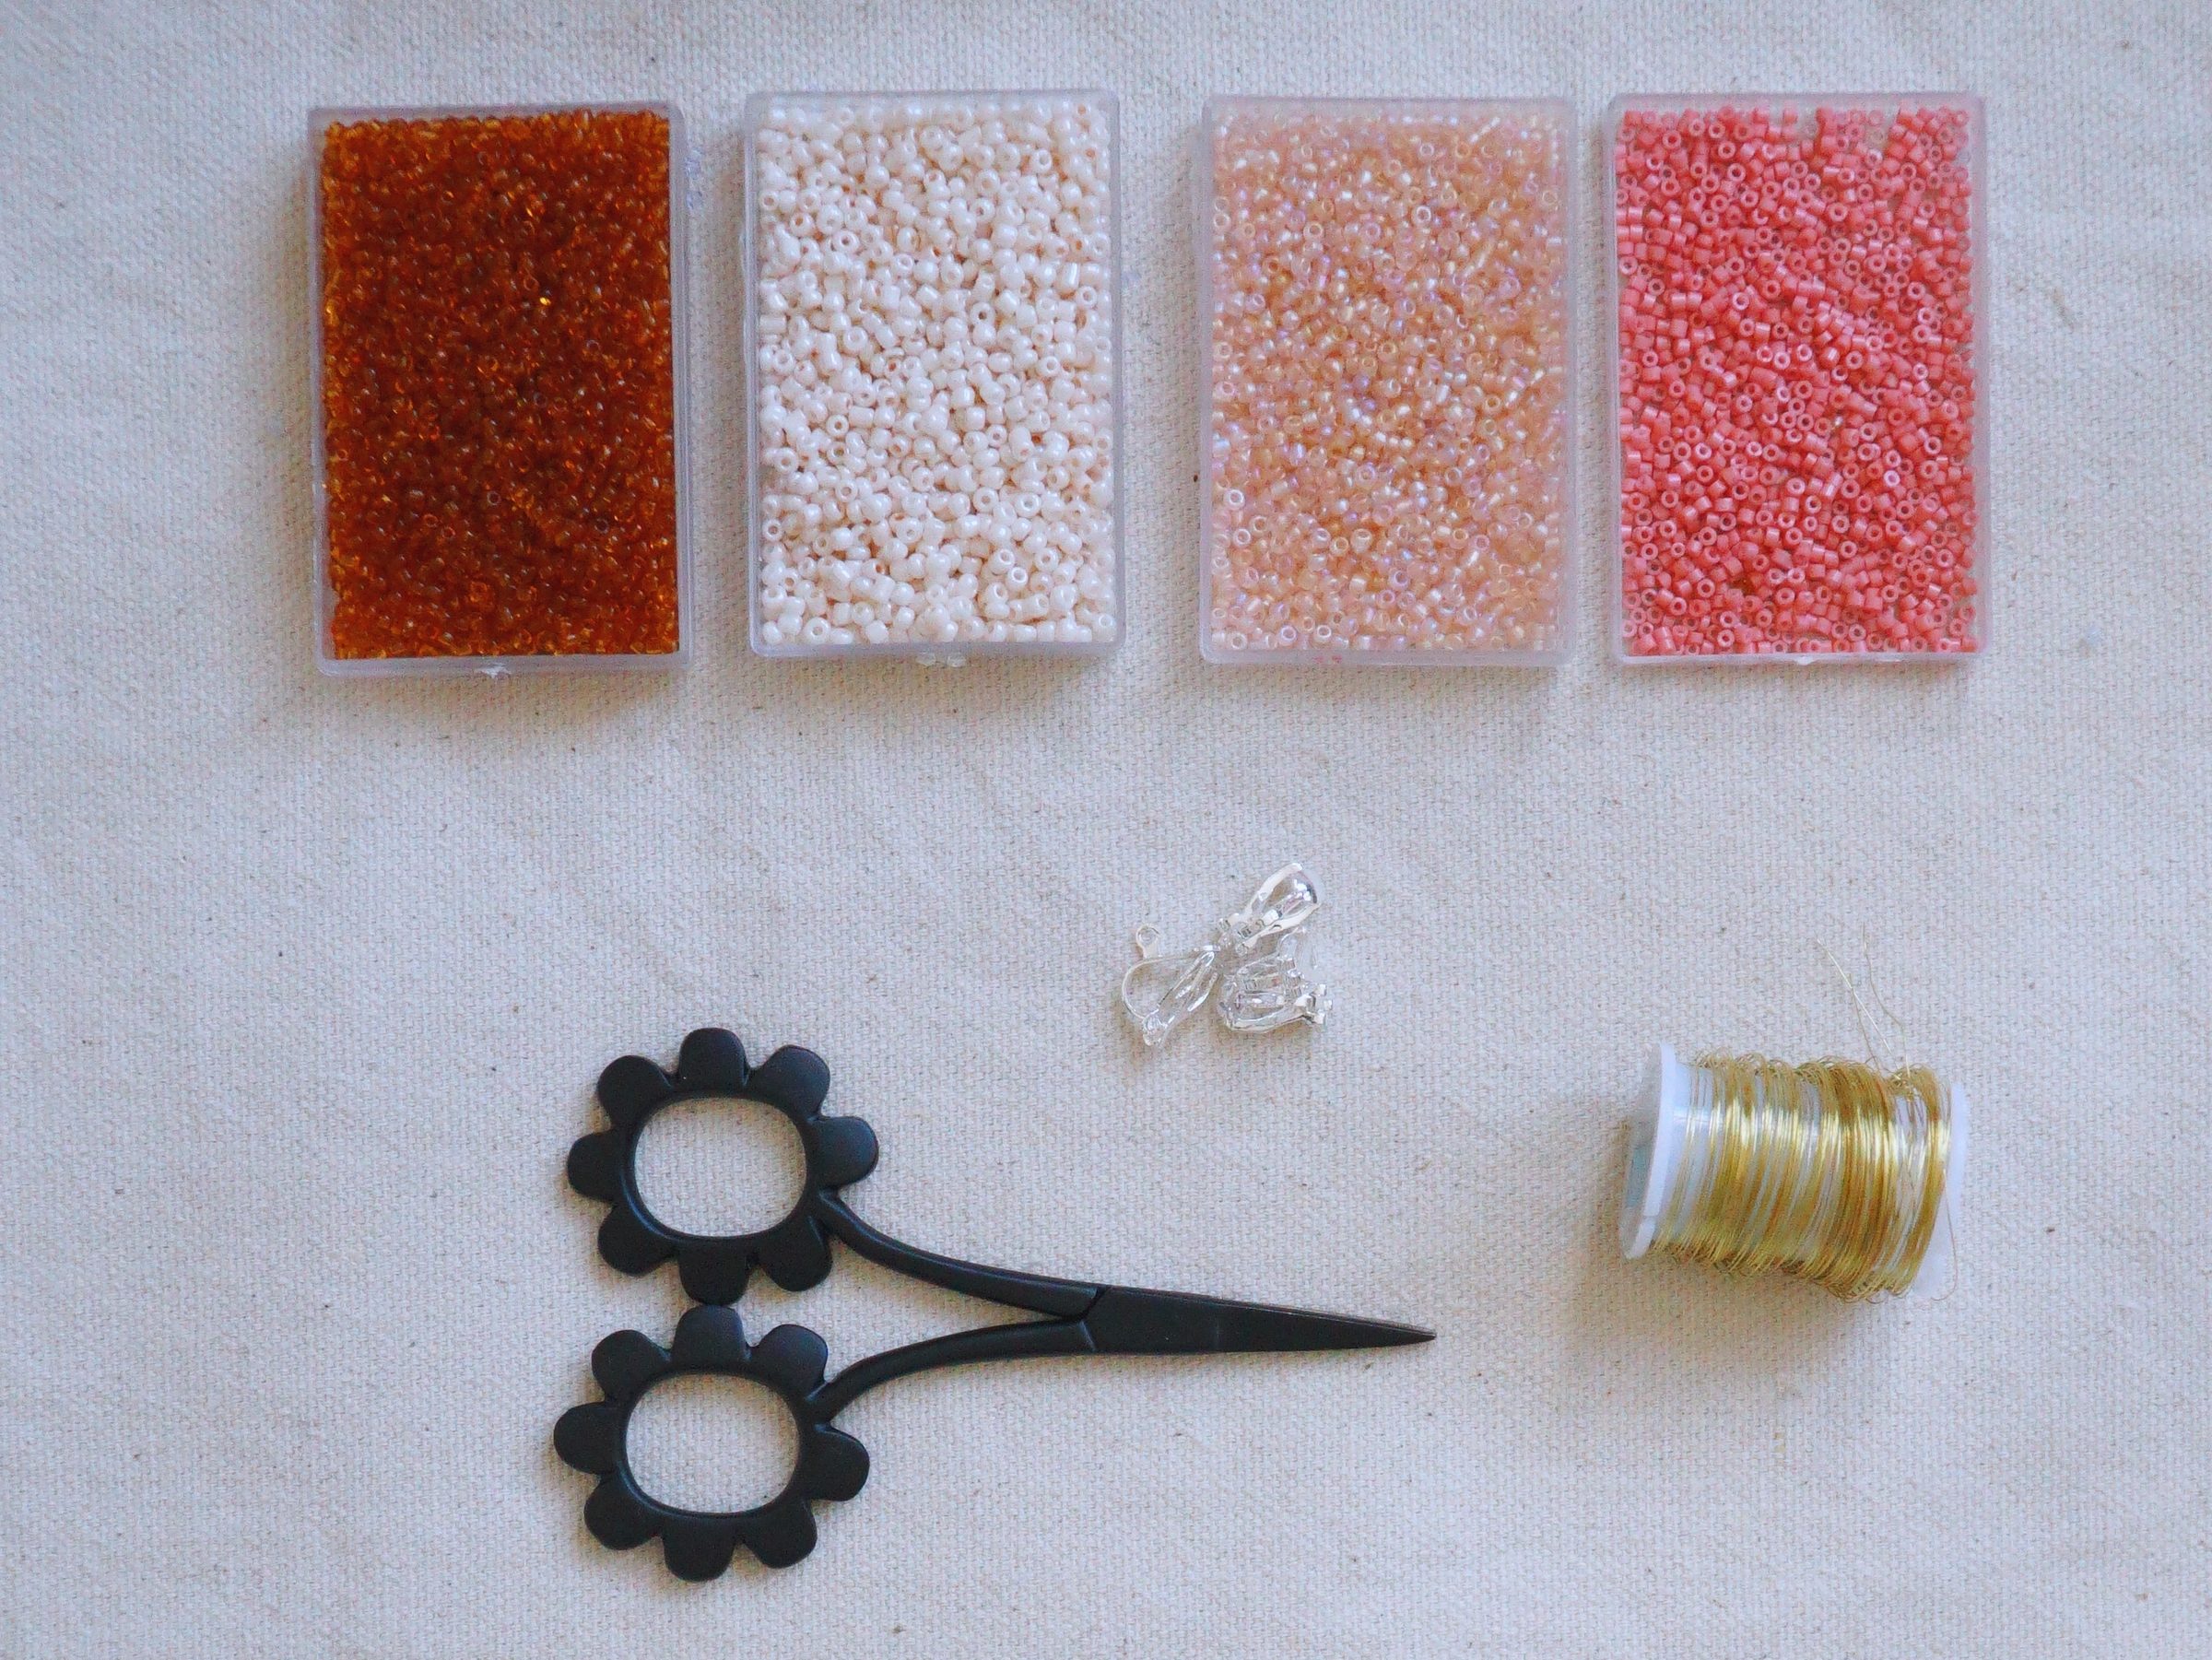
What You’ll Need
- Seed Beads: Choose your favorite colors for the petals and the flower center. Size 11/0 or 15/0 seed beads work well.
- Beading Wire: 0.3mm Jewelry Beading wire is perfect for this project.
- Wire Cutters: Essential for snipping the wire.
- Earring Clips: To turn your beaded flowers into wearable earrings.
- Bead Mat or Tray: To keep your beads from rolling away.
Step 1: Creating the Petals
- Cut Your Wire: Start by cutting a piece of wire about 12 inches long. You can trim any excess later.
- String the Beads:
Thread 19 beads onto the wire.
Leave a small tail (a few centimeters) at the end and twist to form a loop.
Continue stringing 23 beads for the center line of the petal.
Form another loop with 19 beads on the other side, matching the first side., - Form the Petal:
Twist the wire at the base of the beads to secure the shape. - Add the Outer Beads:
Thread 10 beads onto the top right loop to create the outer edge.
Add 4 beads along each side to the middle loop.
Thread 10 beads onto the top left loop to create the outer edge. Ensure all beads are snug and twist the wire at the base to secure. - Repeat the Process:Make a total of 5 petals by repeating the steps above.
Each petal should have the same bead count and shape.
Step 2: Assembling the Flower
- Joining the Petals:
- Once you have 5 individual petals, twist the wires at the base of each petal together.
- Make sure the petals are evenly spaced and form a symmetrical flower shape.
- Creating the Flower Center:
- For the flower center, string 5 contrasting beads onto a short piece of wire (30cm). Bend this wire into a small loop and repeat this 5 times, securing the beads in place, and twist it to form a small bead cluster.
- Attach the Center: Place the center cluster in the middle of the petals and twist all the wire ends together to secure the entire flower.
Step 3: Adding the Earring Hook
- Create a Loop: Using your round-nose pliers, form a small loop at the end of the twisted wires.
- Attach the Hook: Open the loop on your earring hook (most hooks will have a small loop you can gently twist open). Slip the flower loop onto the earring hook and close it securely.
Step 4: Finishing Touches
- Trim Excess Wire: Carefully trim any excess wire with your wire cutters, making sure there are no sharp ends.
- Shape and Adjust: Adjust the petals and the center beads to ensure your flower looks perfect.


Leave a comment